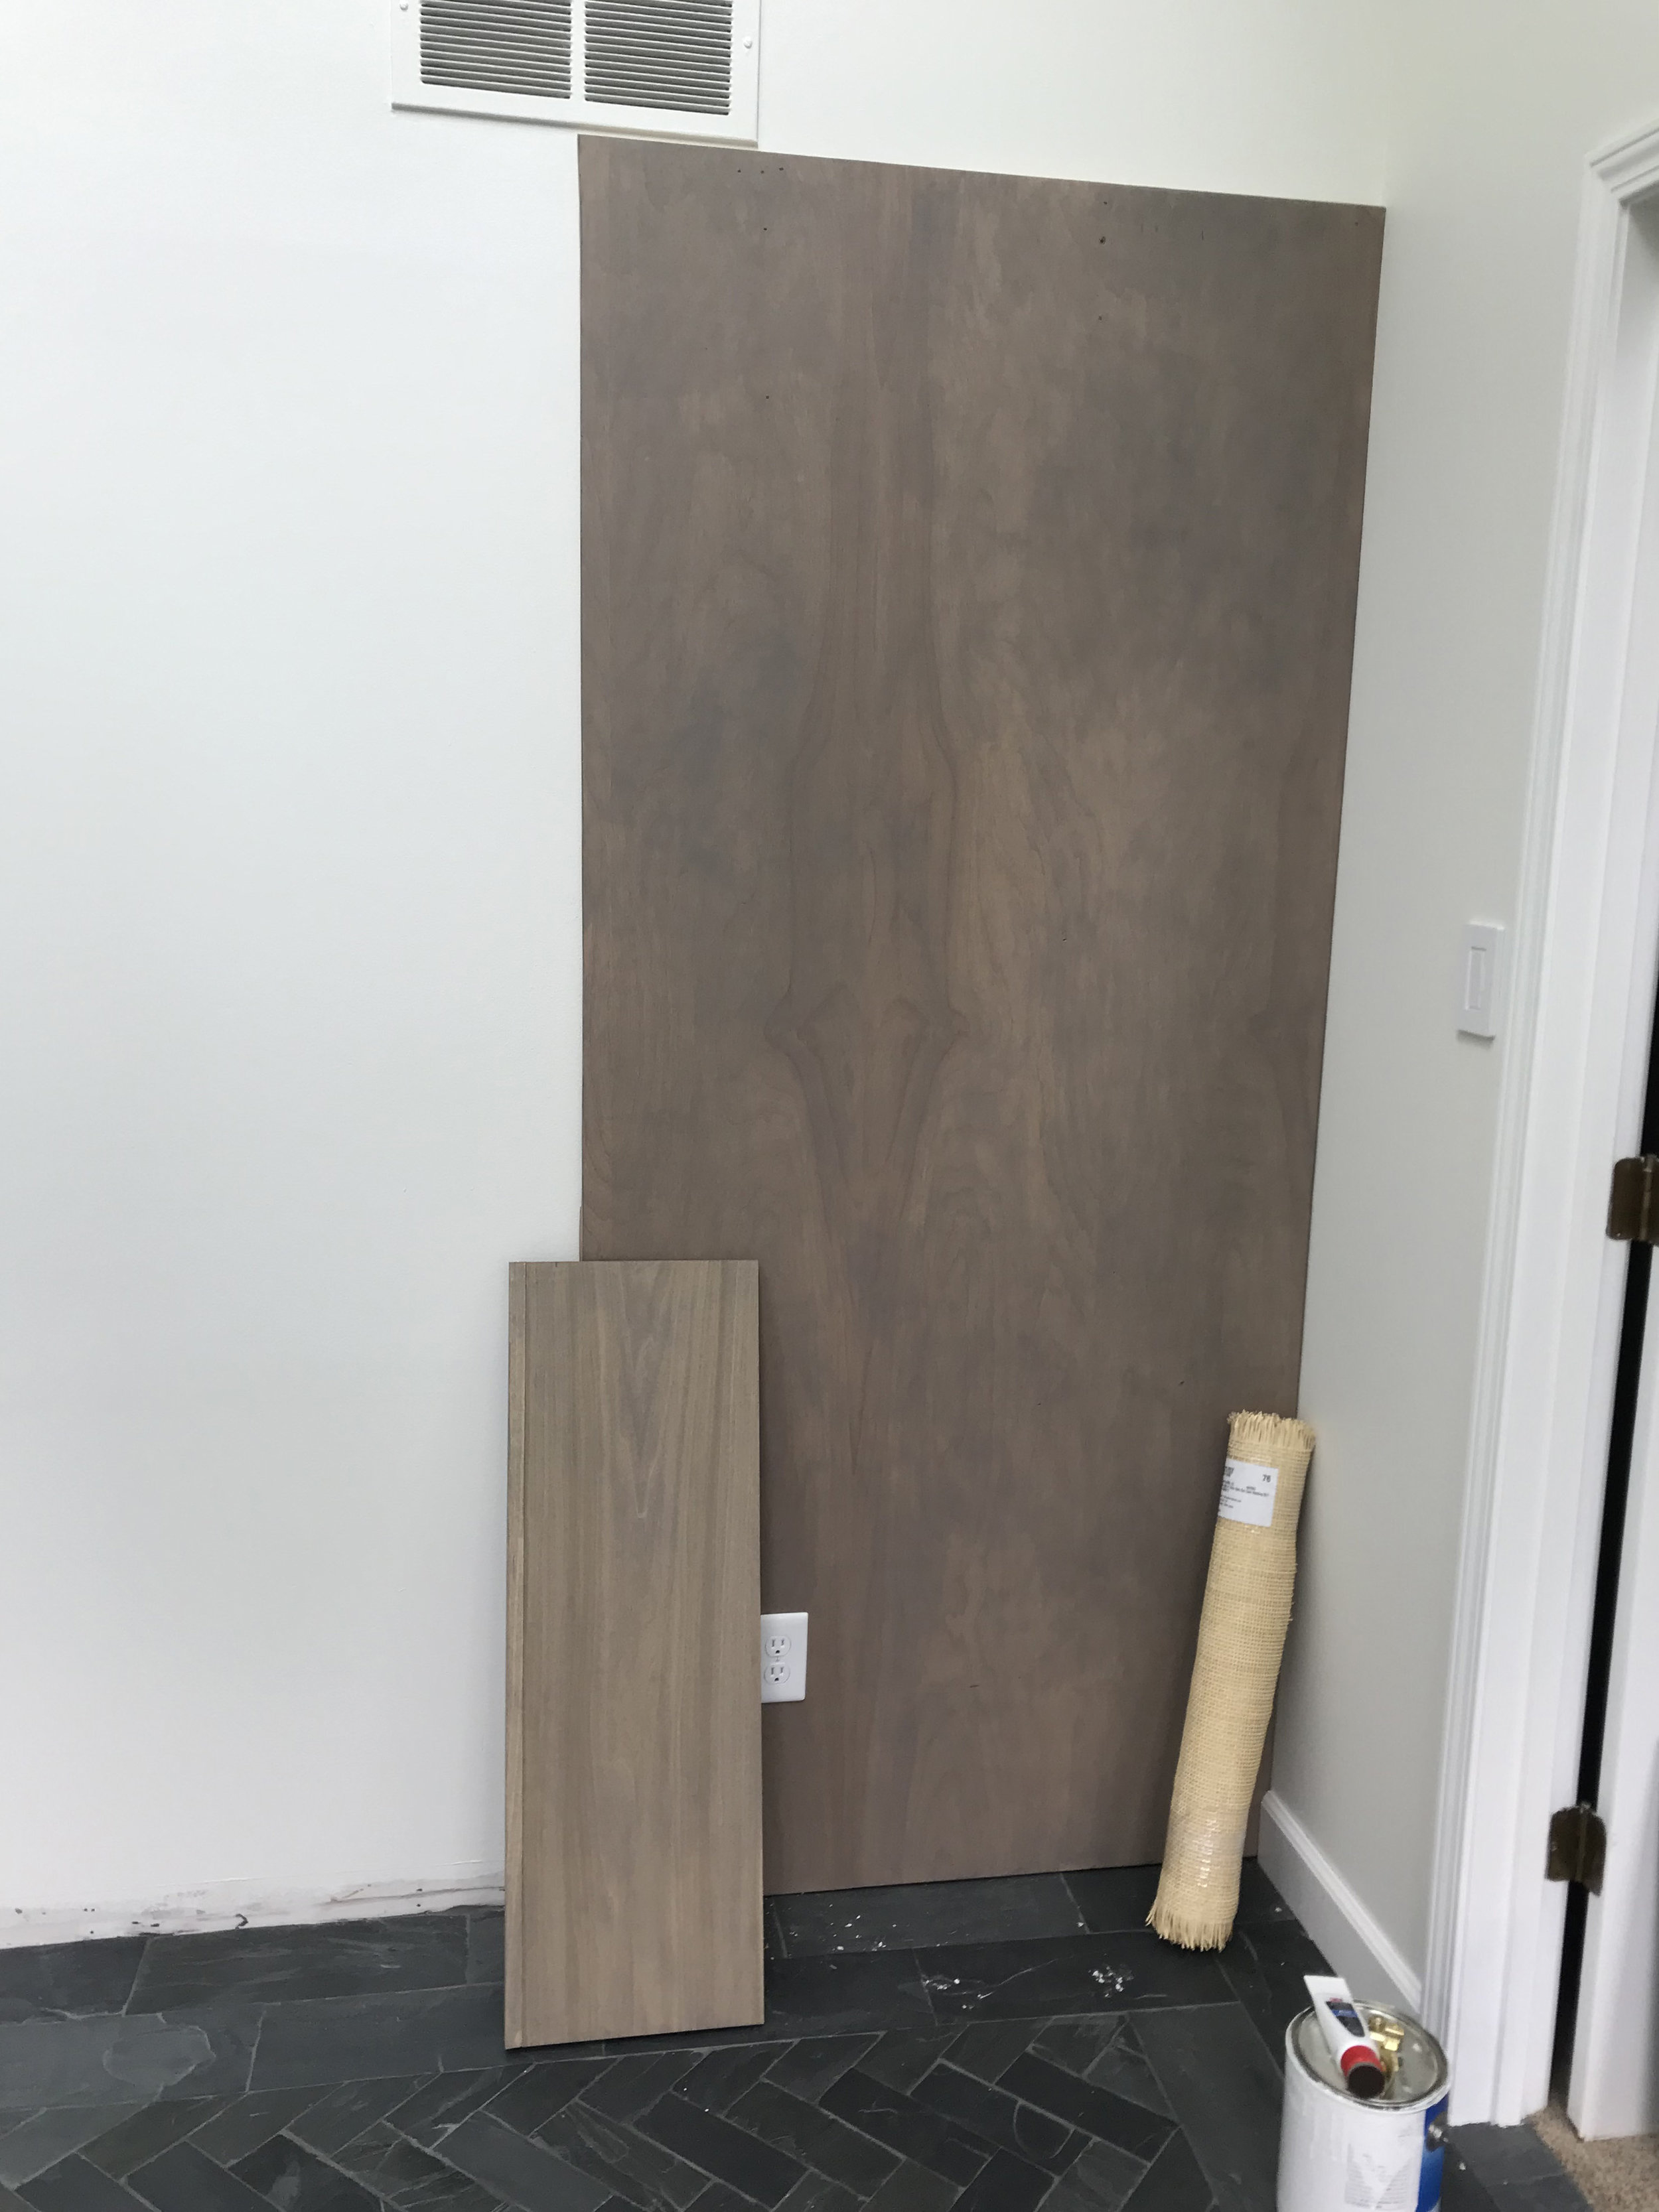
Welcome to Week Four of The One Room Challenge! The big news this week is that the main furniture of the room is in progress. Last weekend, my husband, Lance, broke out the power tools to get the bookcases built, and I broke out the stain to try and get them installation ready.
Bookcase Inspiration
We could have gone with traditional bookcases flanking the daybed. I pinned several DIY plans that would have been beautiful, but I really wanted something with a modern feel in this space. I saw this black bookcase and the wheels started turning. What if we attached plywood to the wall and used shelf brackets to hold the shelves? Could be cool, right? I also loved this image, so I incorporated a box to the bottom of the plywood. The shelves will be 12 inches deep to hold storage boxes and the box on the bottom will be 18 inches. The trick was transferring the vision from my brain to Lance’s engineering brain. Shouldn’t he just know what I want? 😉 We are in the process, but not finished yet. We are taking a few days off to get ready for a couple’s shower we are hosting this weekend. Crazy, I know! What was I thinking to do this in the middle of the ORC?
Staining Issues
No One Room Challenge is completed without some hiccups. We wanted the bookcases stained for warmth. When we went to get the wood, they had birch plywood but not birch boards. We had to go with poplar boards. Here is the current state of things. The backing board stained darker, while the shelves stained lighter. And the roll of caning is even lighter. The caning will be used in the daybed headboard (the bookcases will be flanking either side of the daybed). I will be trying different options to try to even out the stain color. Wish me luck! If you have any ideas please leave them in the comments.
If I can’t work a miracle on the stain, the paint brushes will make an appearance! We can either paint the back and leave the shelves stained, or paint the whole thing. I’m keeping a positive attitude that it will all work out!!
Bistro Table Corner
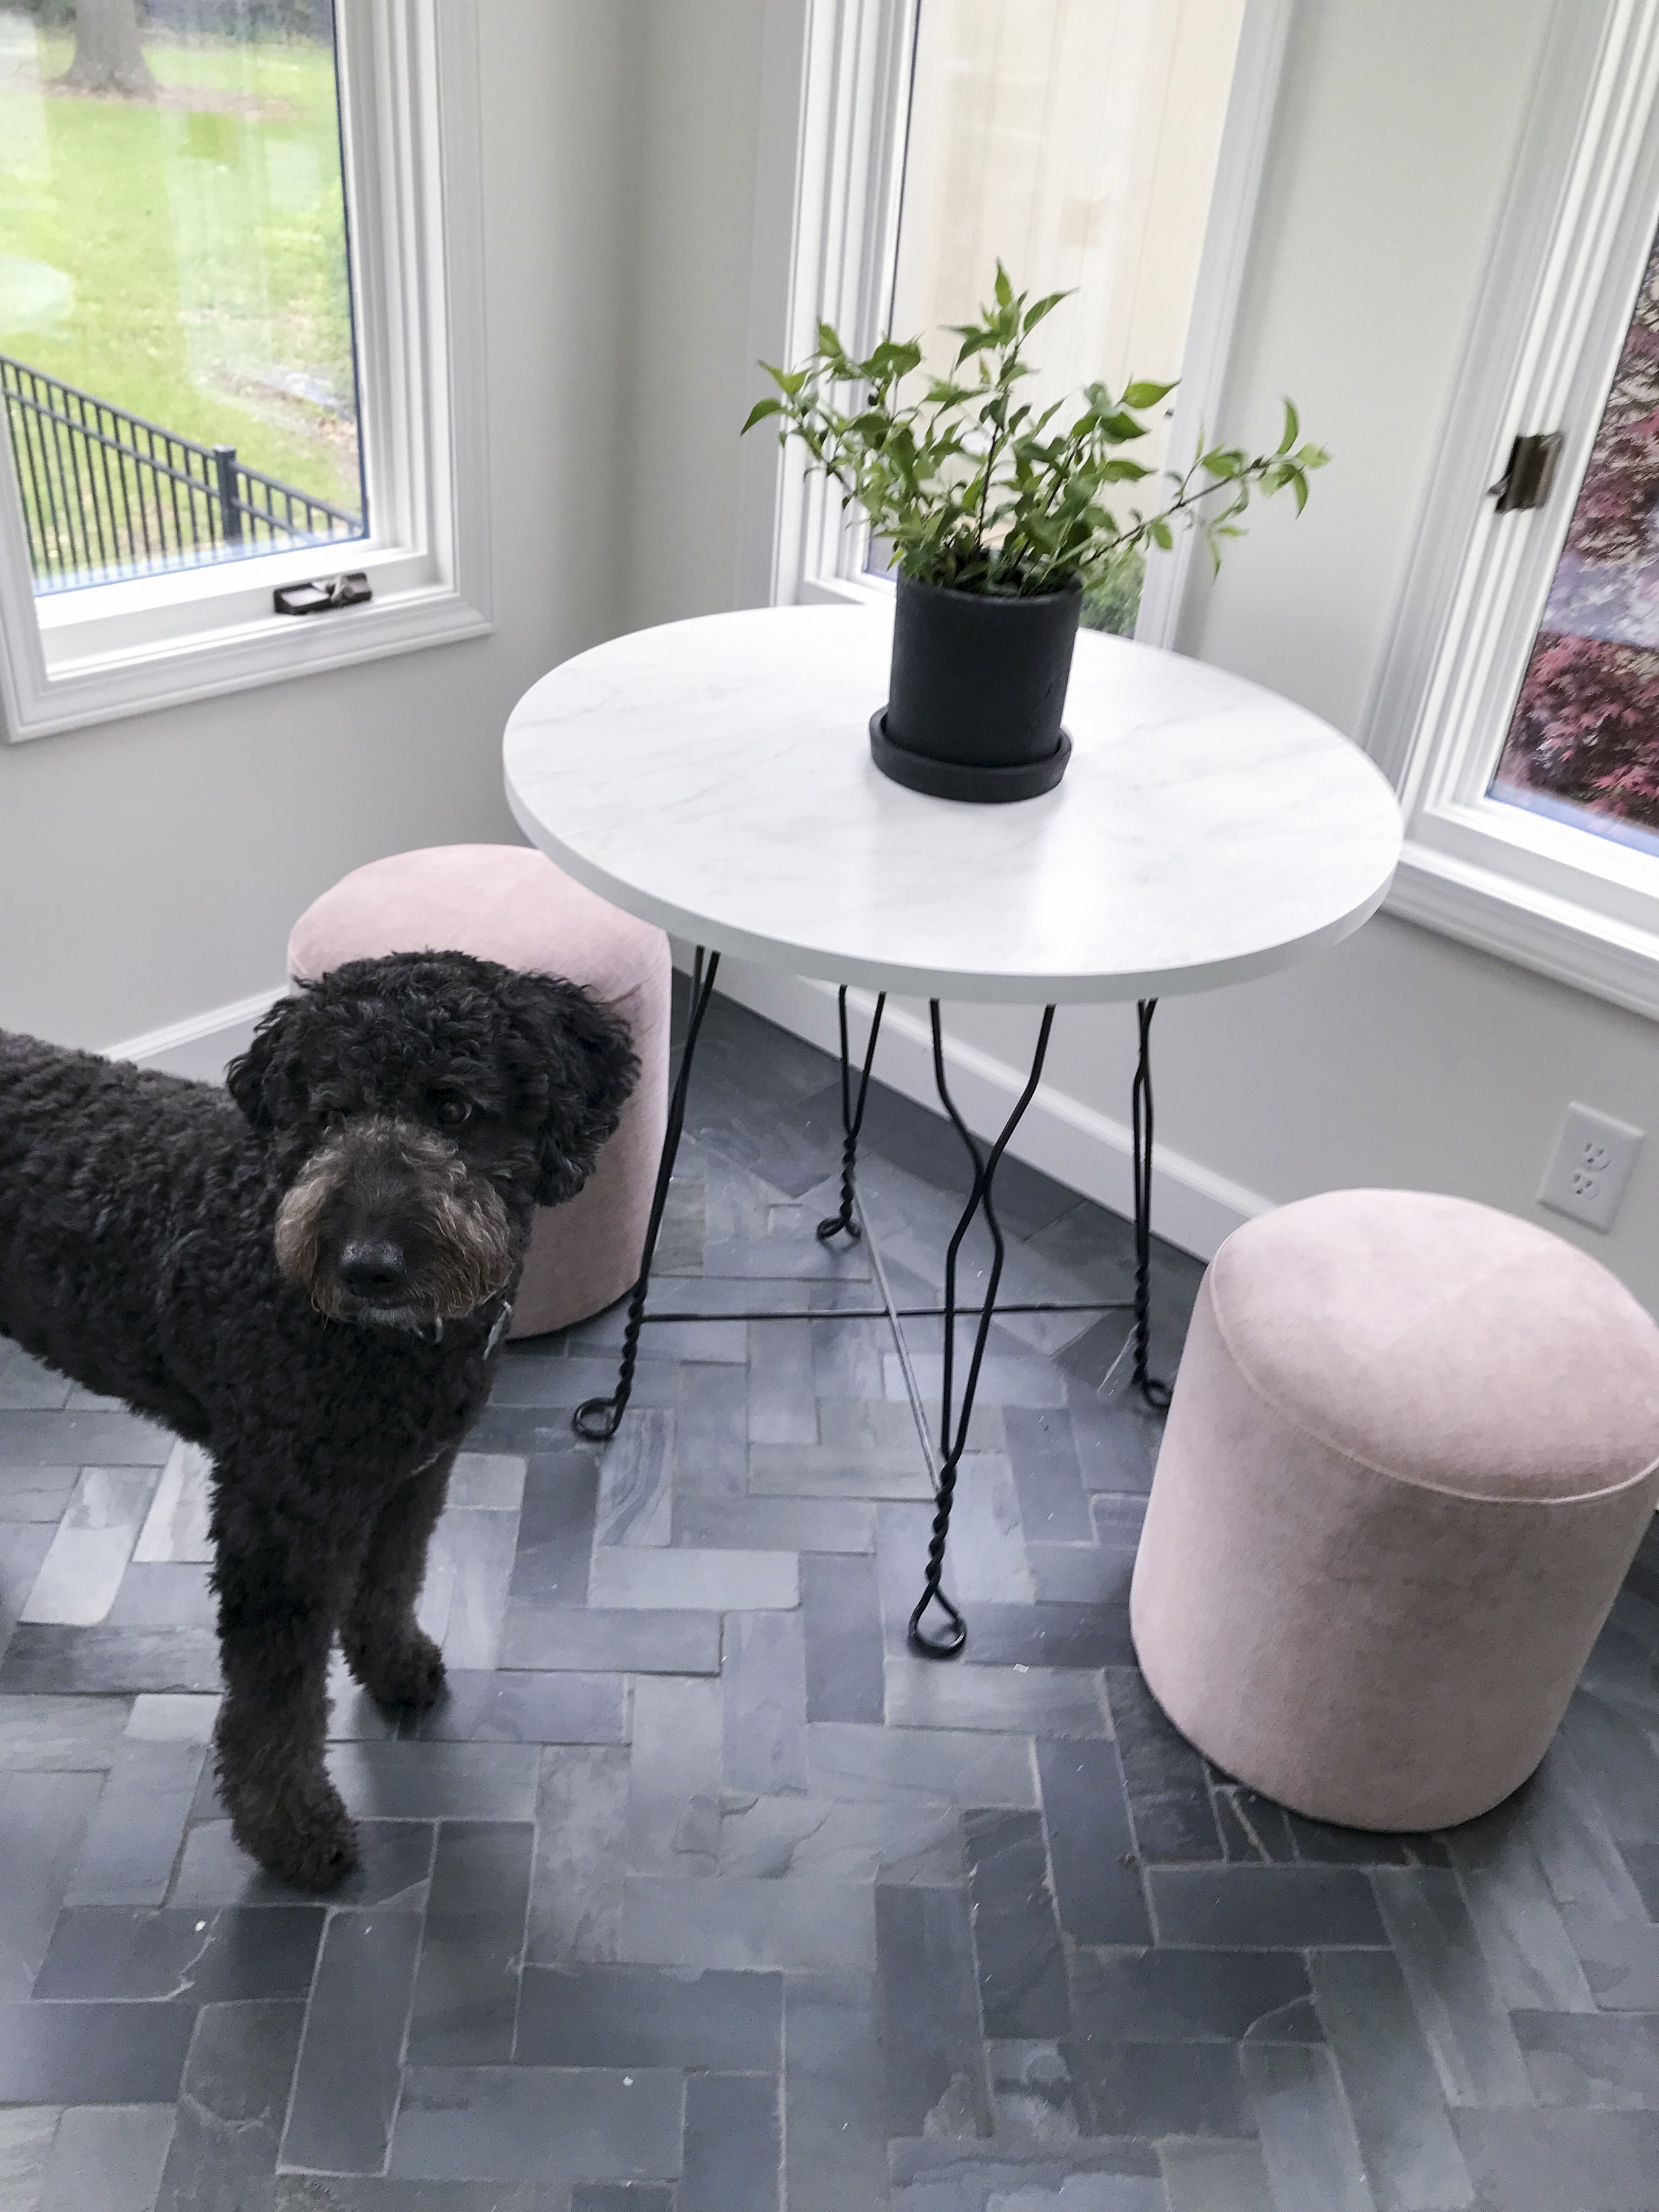
One corner of the room is almost complete. 🙌 Can you believe two different tables were patched together to create this adorable bistro table? The base came from an ice cream parlor table that Lance bought at an antique auction over 30 years ago. It has had many lives in our homes since then. A couple of years ago, the wood top broke. I thought it would be a perfect size for this space and would look really good with a marble top. Tap the brakes! Buying a 30-inch marble top was out of the budget. I found a 36-inch marble piece at a tile shop, but as it turns out, you had to buy a whole pallet. I didn’t need 22 large square pieces of marble! I took a chance and ordered a faux marble 30 inch coffee table to see if it would work. Bingo! Screwed right on, was in budget, and looks really good. Remi approves!
The stools are from West Elm, and I got them on sale for a great price. I love the dusty pink rough velvet. There will be a wall lamp between the two windows. Here is a close-up of the table top. Not too shabby for a marble alternative!
Oh man. Although getting one corner of the room almost complete feels good, there is still a lot to go.
The to-do list. Italics=partially completed.
Source tileInstall tilePaint window frames whitePaint roomPaint and install new baseboards- Source and order lighting
- Source and order art
- Build bookcases
- Build daybed frame
Order caning- Make daybed cushion cover
- Sew and purchase pillow covers
- Install lighting
Decide on table topSource seating for tableBuy greenery and plants- Source accessories
- Source window treatments
Will there be a daybed next week? We hope so. And then it will be all the finishing touches…because the final reveal is only two weeks away! There is so much ORC-related going on around the web. Keep up with all the ORC participants here.
Until next Thursday, Staci


