One Room Challenge | Week One | Sunroom Needs a New Purpose

It’s One Room Challenge time!

If you are new to our blog, welcome to KS Design Company. My daughter, Kylie, and I started this business last summer and are having a blast working together. We decided to tackle the fall One Room Challenge as guest participants after following along for years as the inspirational and creative designers worked their magic.

If you are unfamiliar with the One Room Challenge, it is a bi-annual event that features 20 featured designers and many guest participants who makeover one room in six weeks. Better Homes and Gardens is the media sponsor.

Last fall’s ORC entailed laughter, hard work, some DIY projects, and maybe even a little bit of panic as Kylie lost her wallet at a Craigslist meet-up. (We did end up with some cool chairs though!) You can check out the final details of our first ORC here. Since we chose a room in Kylie and Matt’s house in the fall, we are going to transform the sunroom in my husband, Lance, and my house this spring. We are ready for round two!

History of the Space

When we moved into our home 15 years ago, this room had a very unusual, unpleasant, unwelcome odor emitting from the bright yellow sponged painted walls. We learned that the previous owner had a ferret, and it’s clear he didn’t like the sponge painting in his space either. 😉 After much airing, cleaning, and painting, the odor was finally gone.

Sunroom Before 1.jpg

Positives of Space

1. Gets amazing light during the day

2. Has a vaulted ceiling

3. Has a door to the deck

4. Has skylights

Negatives of Space

1. Sucks up the light at night

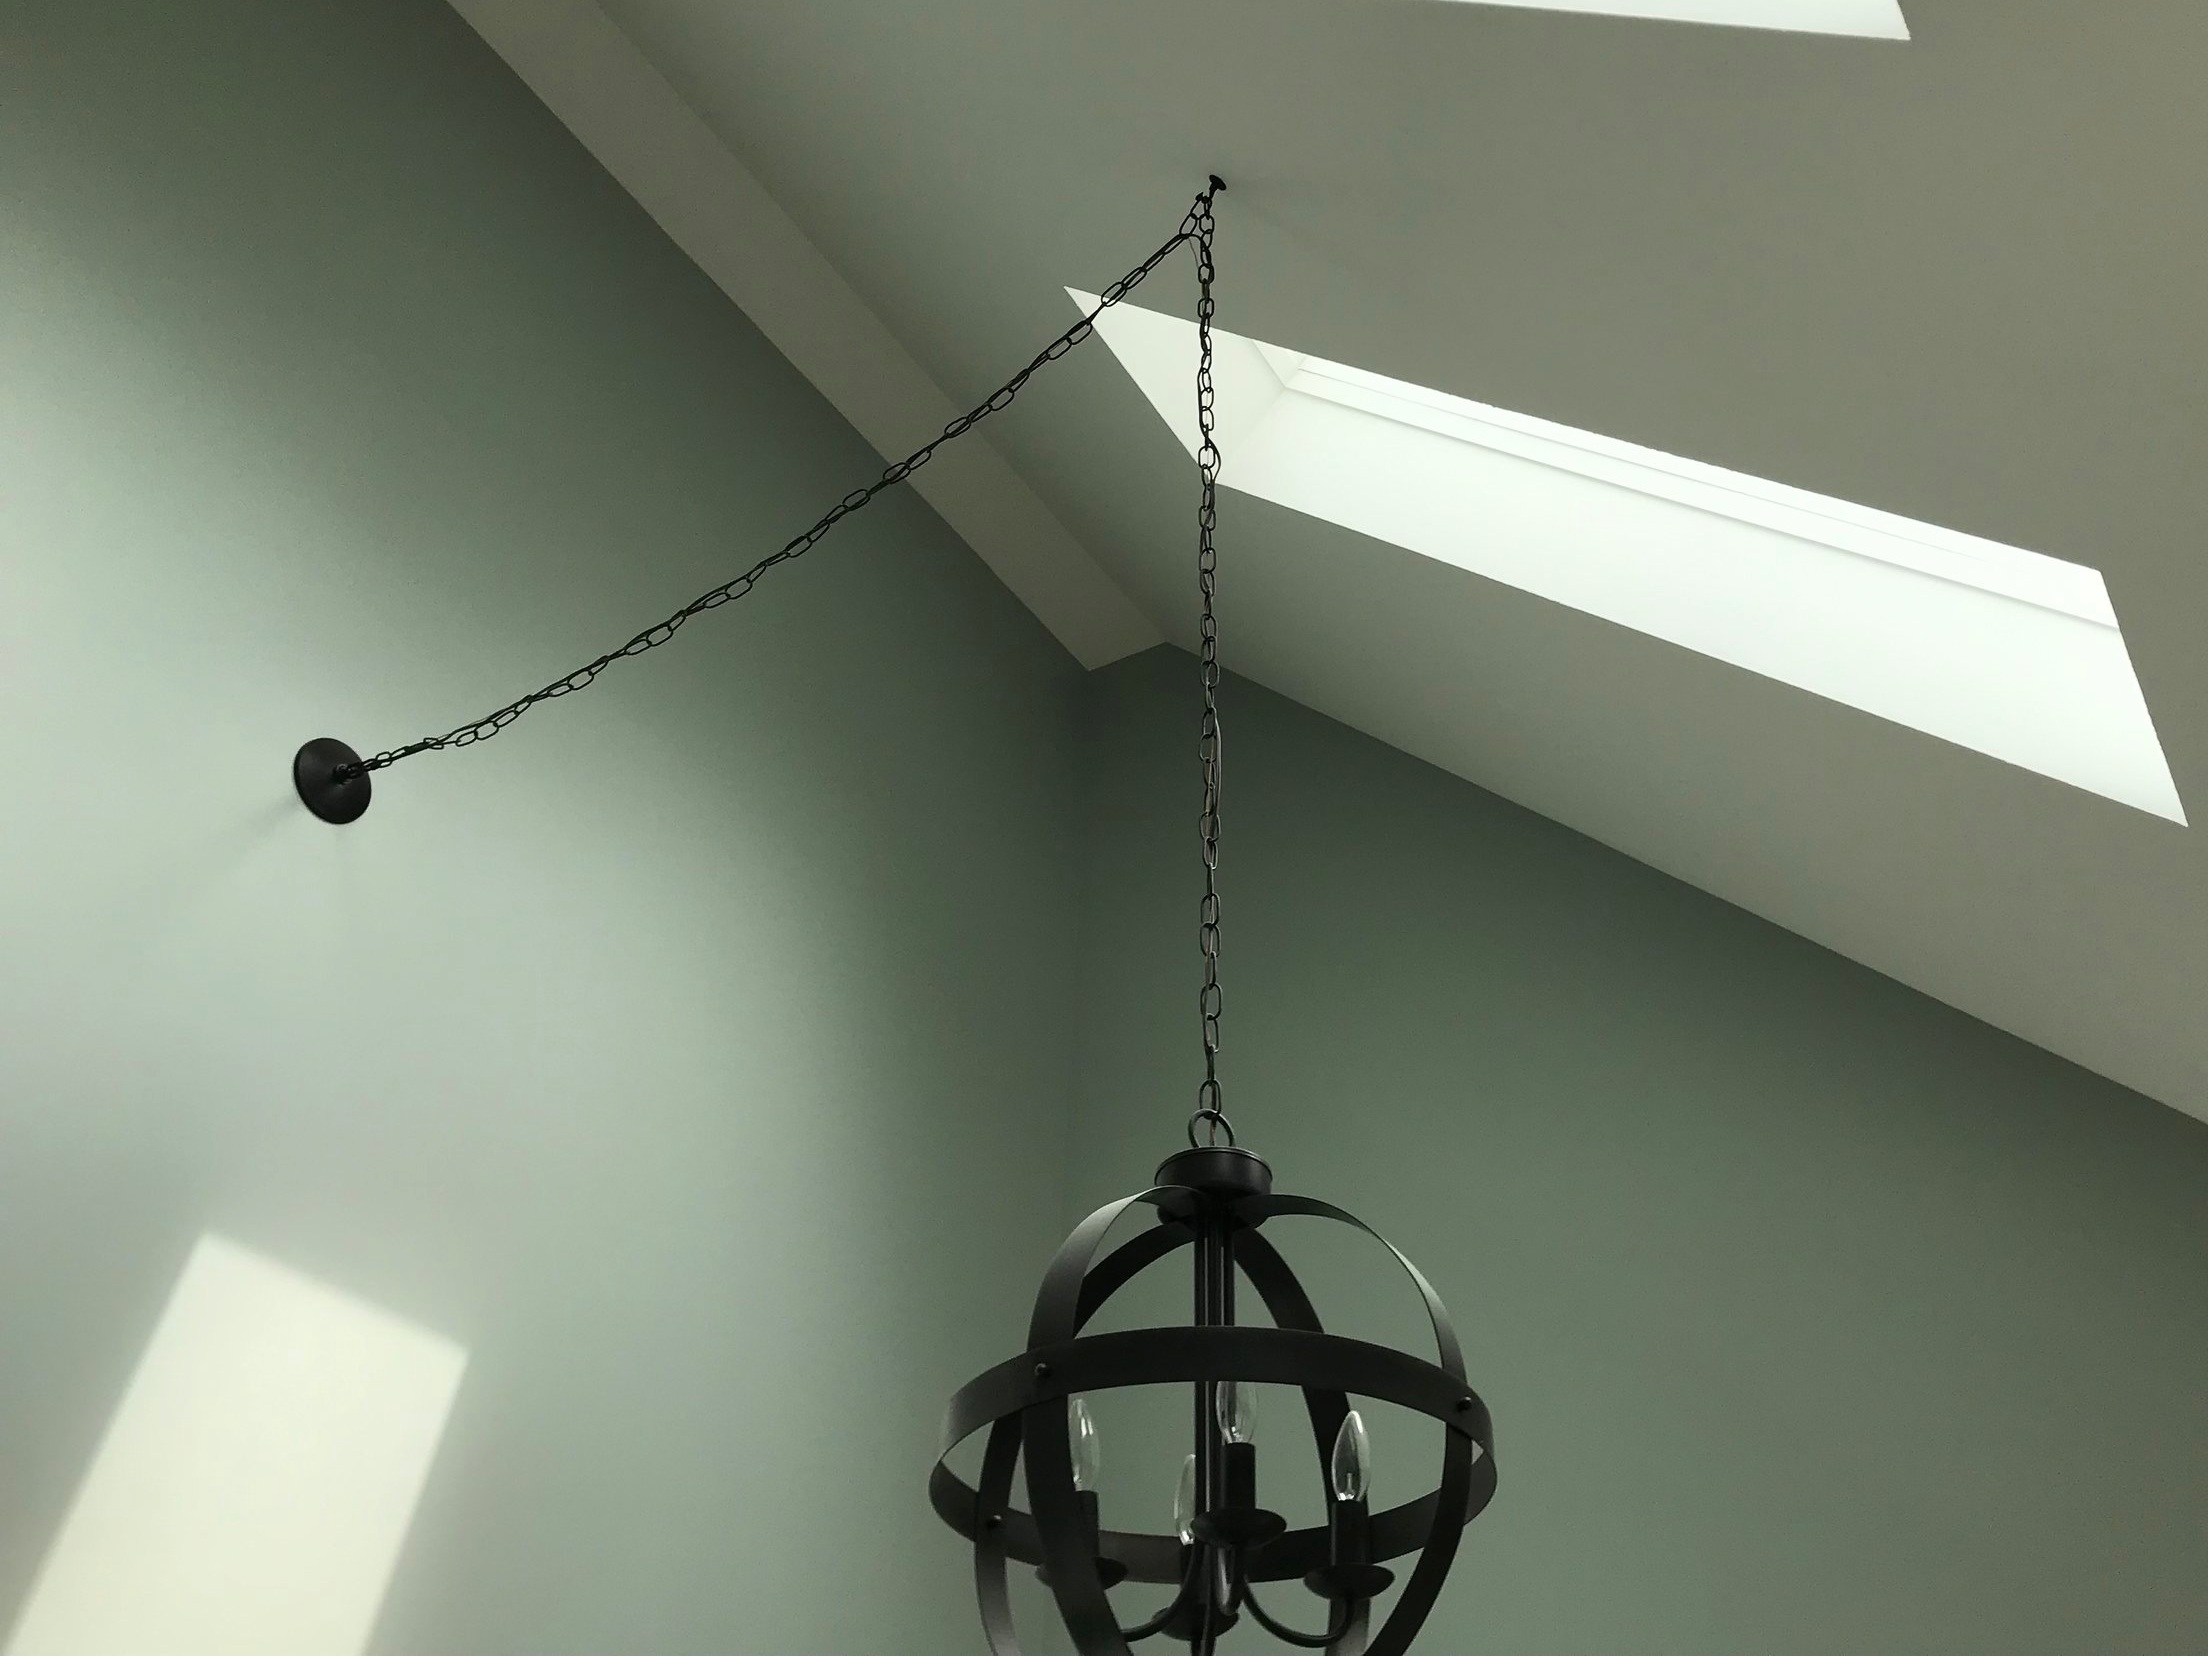
2. Wasn’t wired for ceiling light

3. Is a relatively small space at 9’6” x 12’9”

Sunroom Before Lighting.jpg
Sunroom Before 4.jpg
Sunroom Before 3.jpg

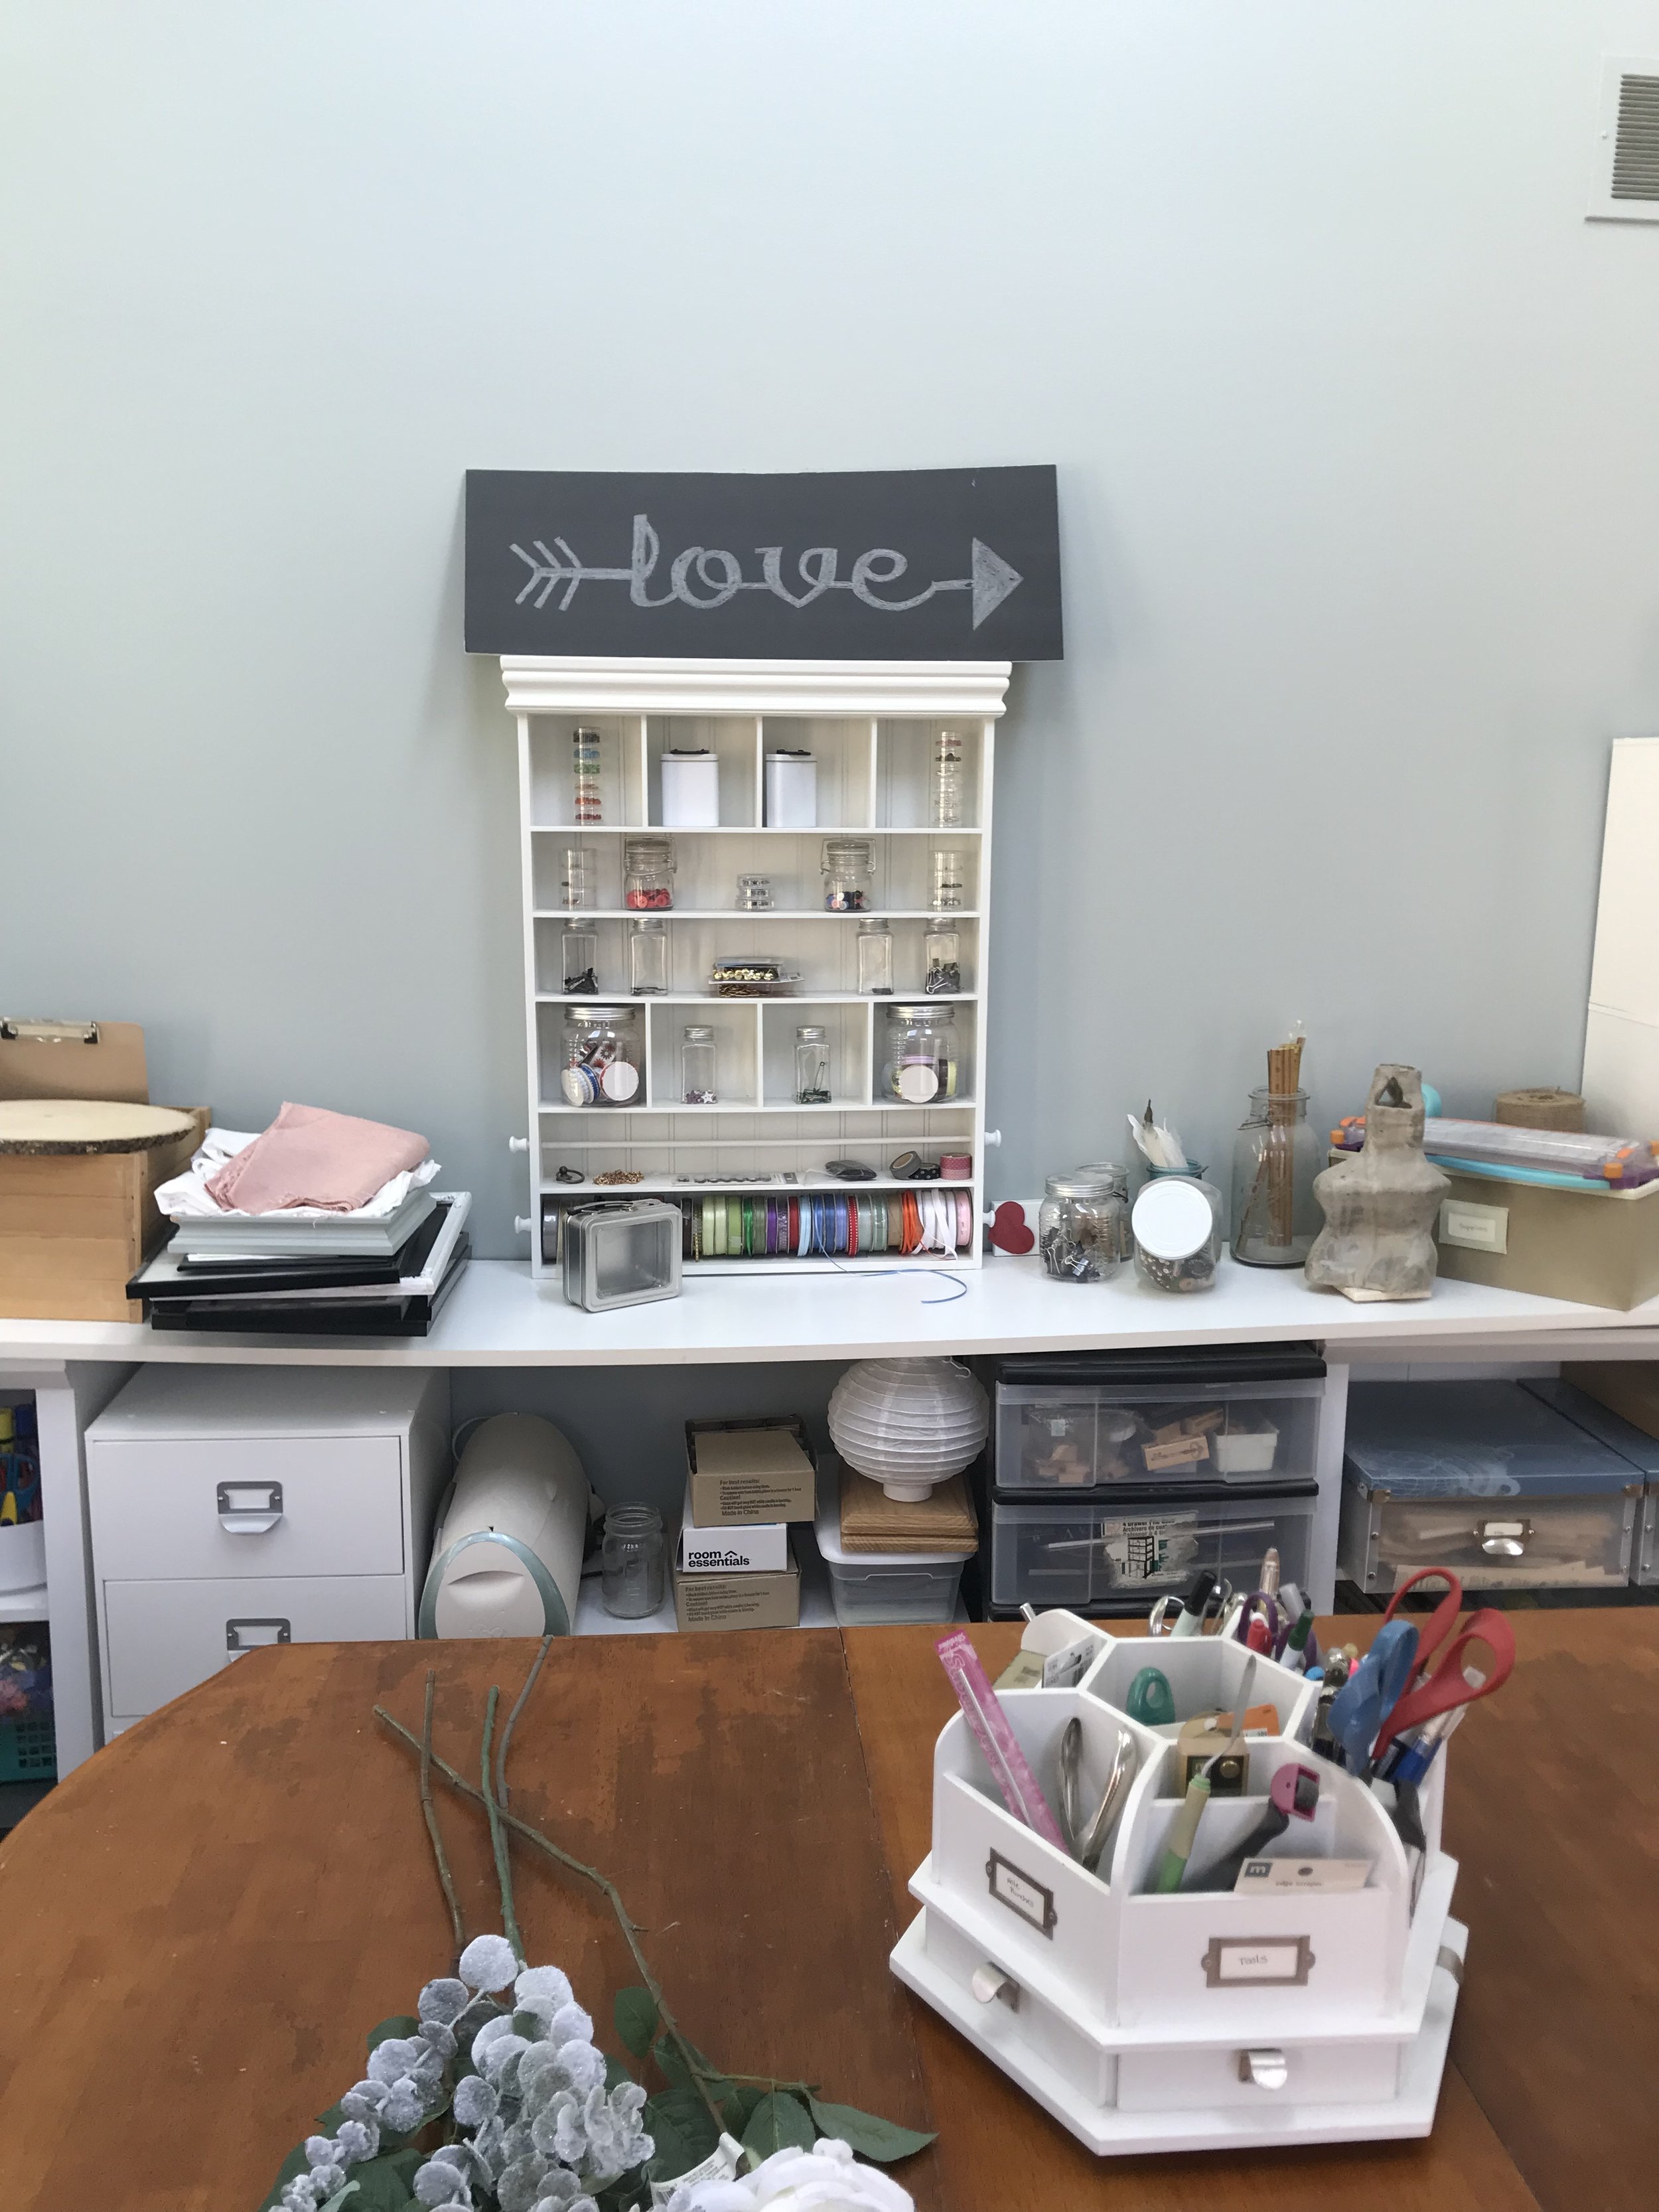
The sunroom is located right off of the great room and is accessed through french doors. In our family, the room originally functioned as a sitting room but was underutilized. Ten or so years ago, I converted it to a craft room. Lots of hours of scrapbooking, finishing kids projects, and wedding designing took place within these four walls. With the digital age, it’s easier to preserve memories online, the kids are grown (where does the time go??), and this room has become a dumping ground for the overflow.

The Sunroom’s New Purpose

  1. We would like to have a place for overnight guest on the main floor.

  2. Our dog, Remi, will turn three during the ORC and will finally be getting old enough to have more freedom while we are out of the house. This will be a perfect place for her to hang out. Lance says she is an expensive puppy to get a room redone to stretch her legs! What can I say? The room is returning to its animal-housing roots after all. 😂

  3. The space will act as storage for frequently used craft supplies. The rest of the stash was donated or is living in another room.

  4. Finally, it will be a quiet place to read, play games, and soak up some vitamin D!

Remi (aka The Real Reason this Room is Getting a Makeover)

Remi (aka The Real Reason this Room is Getting a Makeover)

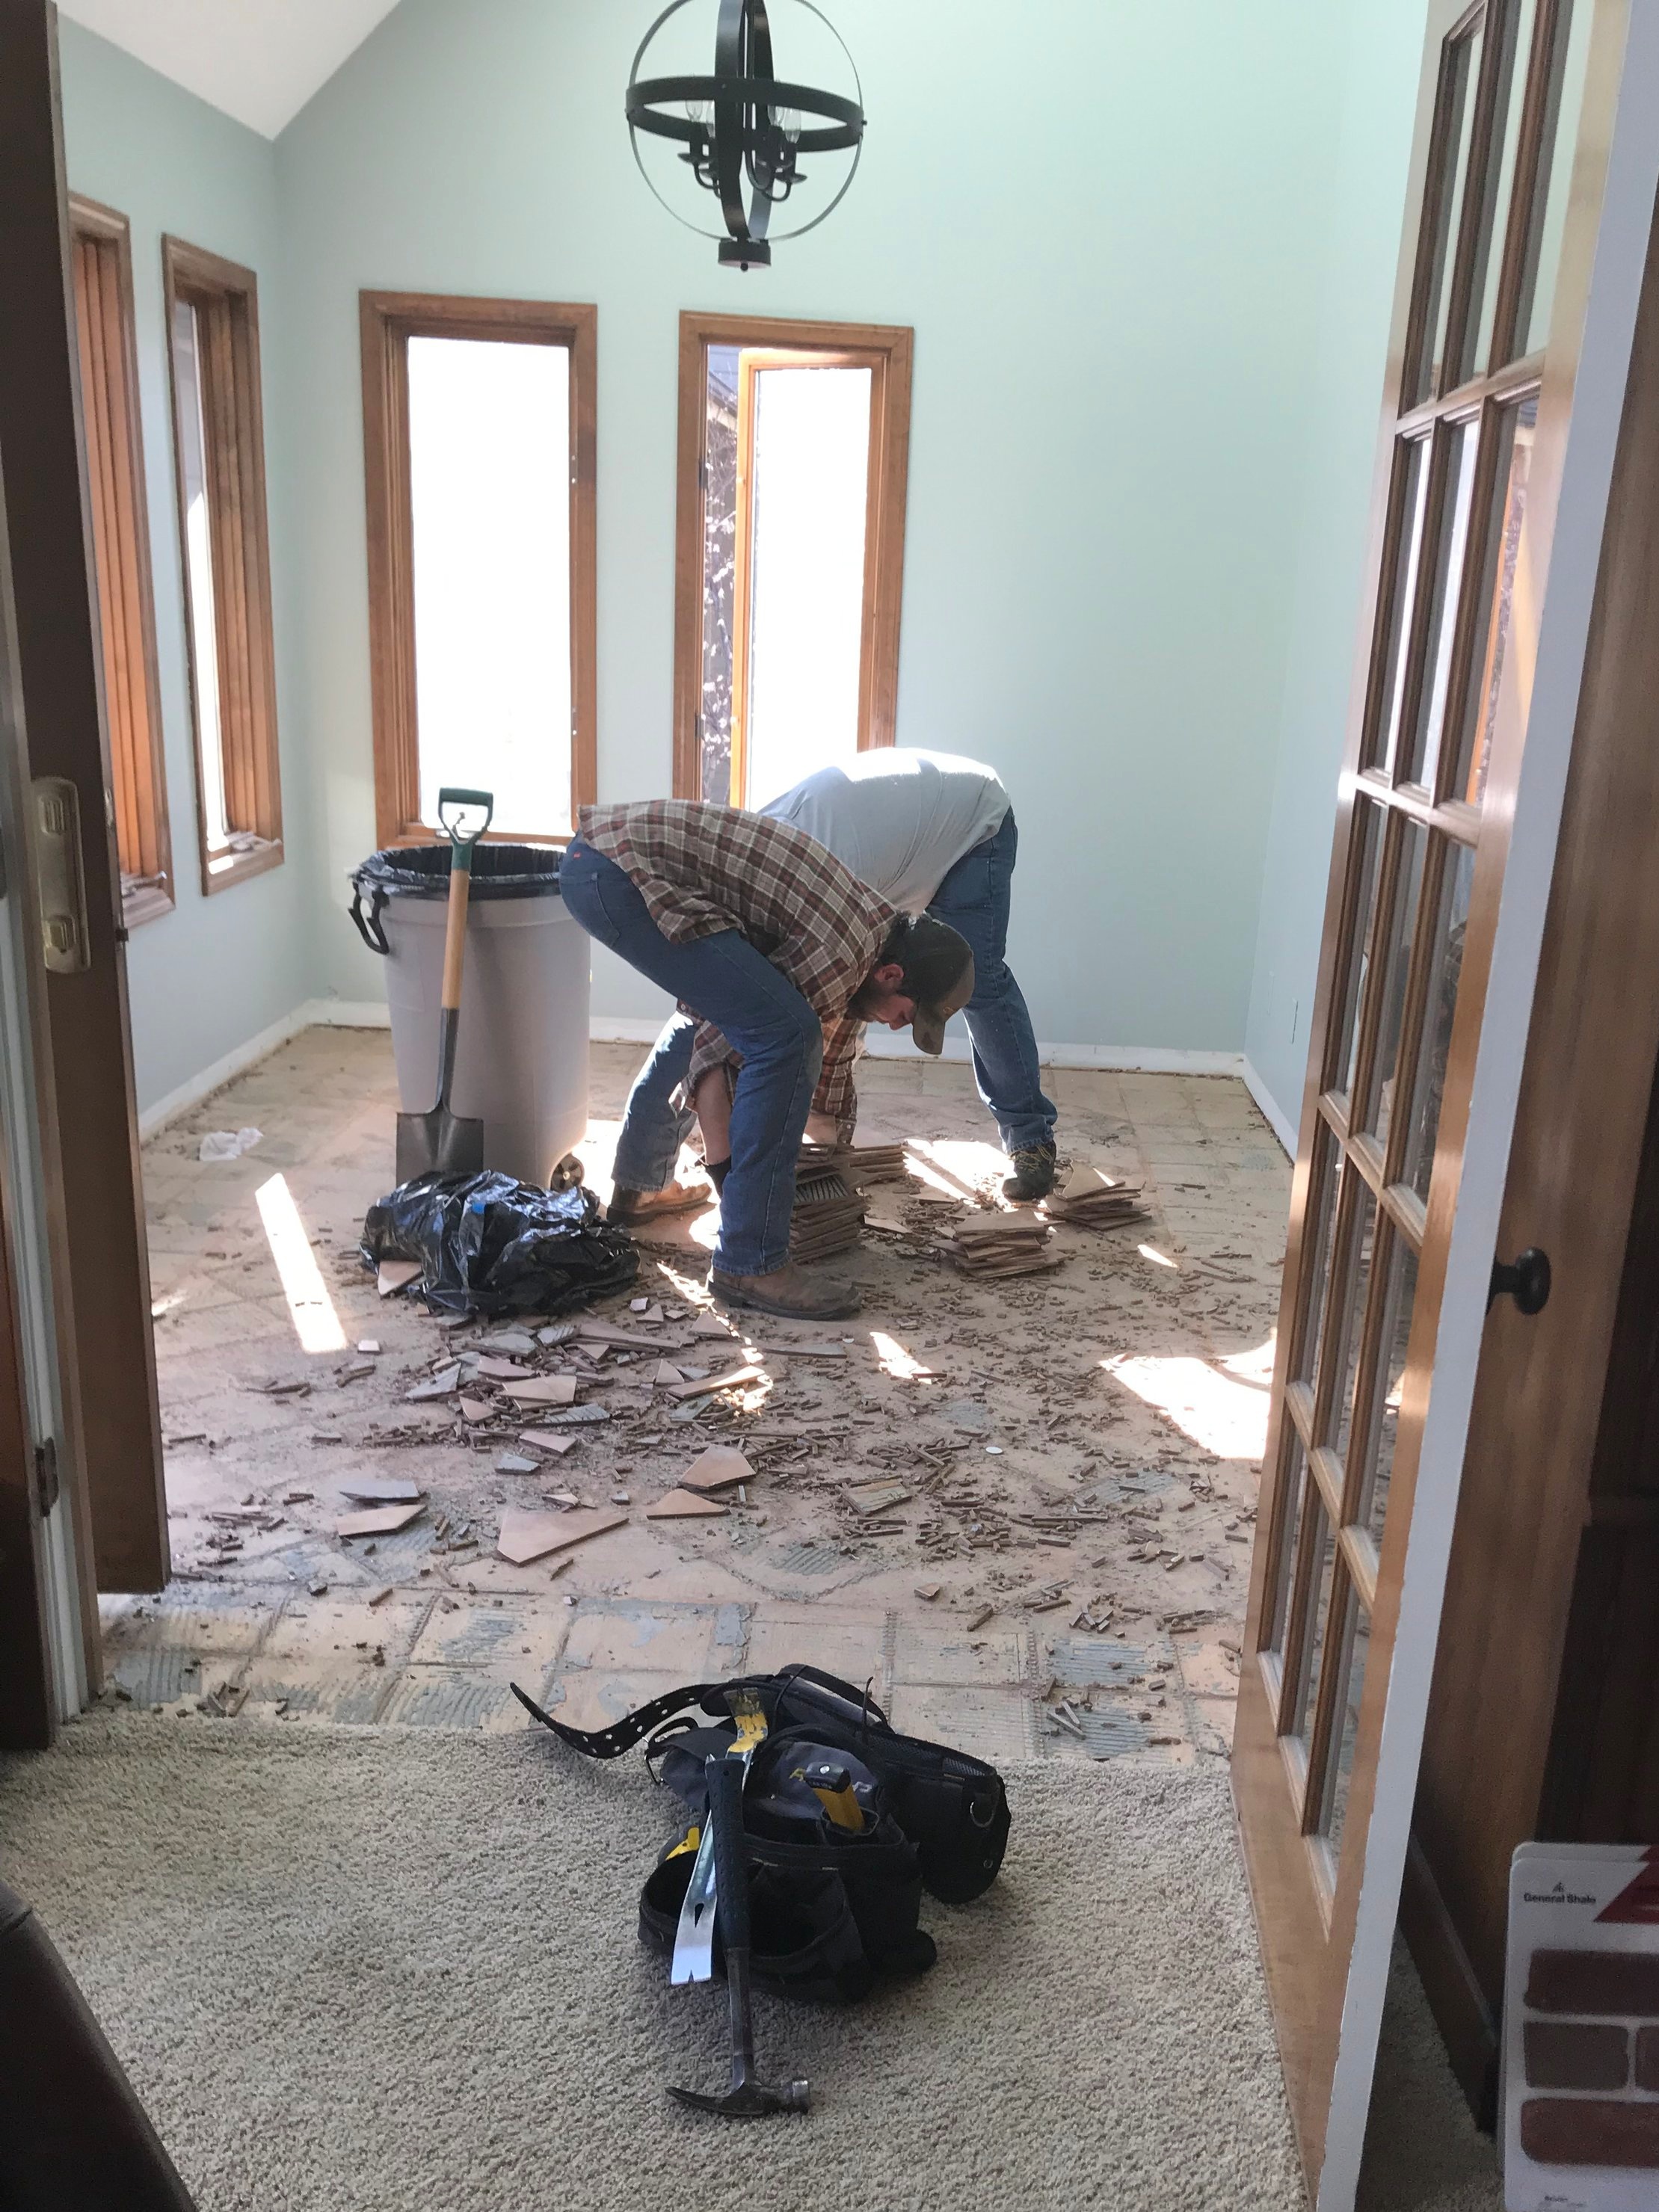
So, let the work begin. A big shout out to Lance and our son, Keenan, for demoing the floors! (Bookcase building next, pretty please!) Check in next week for the design plan and progress on the floors.

Sunroom+Before+Demo+1
Sunroom Before Demo 2
Sunroom+Before+Demo+3.jpg

Thank you for following along on our journey. Make sure to check out the incredible ORC work being accomplished by the other guest participants and the 20 featured designers.

Until next Thursday, Staci

ORC-Guest-400x218.png

One Room Challenge | Week Five | Highlights and Budget Breakdown

The end is near! Only one week left of the One Room Challenge and lots of finishing touches to go. I counted them up today, and there are seven projects that have been started but are not quite finished. And that does not include the hanging of everything and the styling that will take place at the end. 😱 As a break from our bigger projects, we played around styling the mantle. We’ll have to see if it makes the final cut.

mantle.jpg

The plan is to go into worker bee mode this weekend, turn on a good podcast, and get it all done.

Highlights from Week Five

Installing the ceiling fan. What a difference a new fan makes! I could not stop staring at this beauty after it was installed over the weekend. Let’s face it, ceiling fans are often kind of ugly. My top goal for the living room, though, was to make sure it was functional, and we use our ceiling fan a lot. So a ceiling fan had to stay. Luckily, my mom found a new one that fit the bill: stylish, affordable, and from a brand that we have used and liked in the past. The blade shape and globe light look modern, the white and brass tie into the room without screaming look at me, and it even comes with a very functional wall switch. After it went up, I felt a turning point where the tone of the room was really starting to change. Exciting!

Ignore the ceiling paint around the fan; touching it up is on the to-do list!

Ignore the ceiling paint around the fan; touching it up is on the to-do list!

Hanging the wallpaper. Confession time: I am kind of awful at hanging wallpaper. This was my first time hanging wallpaper, and it was tricky. The wallpaper was unpasted and the process was laborious. How do air bubbles magically reappear after an entire section has been smoothed?!?

My thoughts at this moment: Hmmmm…this isn’t looking too great….

My thoughts at this moment: Hmmmm…this isn’t looking too great….

Did I almost cry when I got to the bottom of a seam and discovered a millimeter gap between the panels? Maybe. Was the work worth it in the end? Hopefully! The project is not all the way finished, and my wallpapering job is by no means perfect, but I will say that I am in love with the print on the wallpaper. Here is a sneak peek.

wallpaper.jpg

My take aways from wallpapering are the following: 1. Take the reviewers seriously when they say it is a job for the professionals. 2. Embrace the wallpaper smoothing tool. You will be using it a lot. 3. Do the project with someone who has a positive attitude (My mom is the best!) 4. Keep your chin up because you get into a rhythm as you go along.

The Budget

In great news, almost all the purchases have been made. Since we have reached that point, I wanted to break down the budget. Of course, I am a sucker for good design, no matter the price point. But, when I scroll through all the eye candy on blogs and Instagram, I often catch myself thinking the following: This looks great. What was their budget? Is this realistic for my house, my budget? So, instead of leaving you all guessing, I wanted to be transparent about the budget.

The goal was to spend under $3000, really aiming for closer to that $2500 mark. That is not a small amount of money by any means and is not a small amount to my husband and me, but when you are talking about a whole living room makeover, it doesn’t leave wiggle room in the spending. With every item we purchased, I was conscious of the budget, shopping during sales or using coupons. Here is the breakdown.

Animated Gifs (2).png

Obviously we didn’t 100% hit that $2500 mark, but we definitely stayed under $3000. I will take it!

A Quick Money-Related Story

I wanted to use this sconce in the living room, but when I went to order it a couple of weeks ago, the sconce had just gone to backorder status and wasn’t expected to ship until Nov. 8. It was such a bummer. I am persistent though (and maybe a tad stubborn). I called our local store just to make sure there wasn’t one in stock. And…there was one! The employee said that someone had returned one, and he would put it on hold for me. I truly felt lucky. The next day when I went to pick it up the same employee was working, and he said, “I didn’t tell you this yesterday, but with returns, we put them in the clearance section of our home goods, so this is significantly cheaper.” You guys, this $149 sconce was only $45. What!?! It made my whole week.

Here is an updated to-do list. Italics= partially completed.

Items to build or install:

  • Paint walls white
  • Build storage shelving around fireplace
  • Install wallpaper on entry wall
  • Tile fireplace hearth
  • Paint or tile fireplace brick
  • Install ceiling fan
  • Print, frame, hang wall art
  • Install window treatments

Items to source and buy:

  • Sofa
  • Additional seating
  • Paint
  • Wallpaper
  • Coat hooks
  • Decorative Trim
  • Ceiling fan
  • Curtains or fabric for curtains
  • Roller shades
  • Area rug
  • Wall art
  • Tile
  • Storage baskets
  • Lighting
  • Throw pillows

Time to wrap things up, but I am so excited for the final reveal next week! There are so many elements of the room that have yet to be revealed! I have a feeling next week’s post will be a long one. 😉 Until then, make sure you stop by the One Room Challenge blog and admire the hard work of the 20 featured designers and all the guest participants.

ORC-Guest-400x218.png


One Room Challenge | Week Four | Tackling the DIY Projects

Hi, friends! It is Week 4 of the One Room Challenge, and things are moving along. Items are getting checked off the to-do list, we are having to move to Plan B at times, and there is still plenty left to accomplish.

If you are new to our KS Design Company, read more about us here. My mom and I are updating my living room for the One Room Challenge— meaning we have six weeks to complete the space. Make sure to also check out the before photos of the living room, our vision, and the baby steps we took last week.

A Blank Canvas

First up for this week, my husband and I (finally) painted the room! It required painting during nap times and late into the night, but we did it!

IMG_4651.jpeg

Over the last several years, I have slowly painted almost every room in our house white, and although the living room held strong to its gray roots for eight years, it too succumbed to the white paint. I realize that white rooms are very popular right now, so I am not doing anything earth-shattering by painting the living room that color, but there is something so refreshing, so simple, so calming about white walls. Once the room was painted, I knew it was the right choice. And although my husband has only allowed white walls to take over our house out of a love for me, he even admitted that the room seemed bigger and brighter.

We used the paint color Bistro White from Valspar, simply because it is the white color we have successfully used in other spaces in our home. Bistro White is a creamy white, definitely not stark, but it also doesn’t read yellow. It works well with both the abundant natural light our home gets in the winter and the limited natural light our home gets in the summer.

A Major DIY

The next change to the room was the shelving my dad graciously built—thanks, Dad!—for either side of the fireplace.

IMG-5200.JPG

The main purpose of shelving is toy storage. Our old TV stand held four of these storage baskets, and my dad built the shelves so that they could hold 12!! We won’t need that many, but we are definitely adding a couple more. We still have to add some trim and paint the shelves, but here is one side of the shelving in the spot it will go.

shelving.jpg

It was a fairly easy install, but my dad did have to pry off the bottom strip of our window trim, so the shelves would slide right under the windows. He had a pretty cute helper. 😀

IMG_4659.jpeg

Some Minor DIYs

A mirror. When I was planning for the room, I visualized having a mirror above the fireplace. I didn’t want the mirror to be overly traditional, and if I had all the $$$, then I would have gone with this beauty. Knowing that wasn’t in the budget, I continued the search and fell in love with art deco fan mirrors. They feel modern, they aren’t overused in design, and they’re a touch glamorous. Sold. Except…I could not find one in my price range. Case in point. The prices of the art deco mirrors were even more expensive than the original mirror I wanted. Yikes.

Mirrors are so hard to photograph!

Mirrors are so hard to photograph!

My mom thought it was worth trying to semi-DIY it. And, I am so glad she came up with that idea. First, she created templates from poster board for each section of the fan mirror. She toyed with the idea of trying to cut the mirror herself using an online tutorial, but a local glass cutting company said they would supply the mirror, cut the mirror according to the templates, and sand the edges for $85. It was a no brainer to go that route. We did choose the thinnest mirror to keep the cost down, so my mom adhered the mirror to quarter-inch plywood, which my dad cut using a jigsaw. The plywood gives the mirror the stability it needs to lean on my mantle.

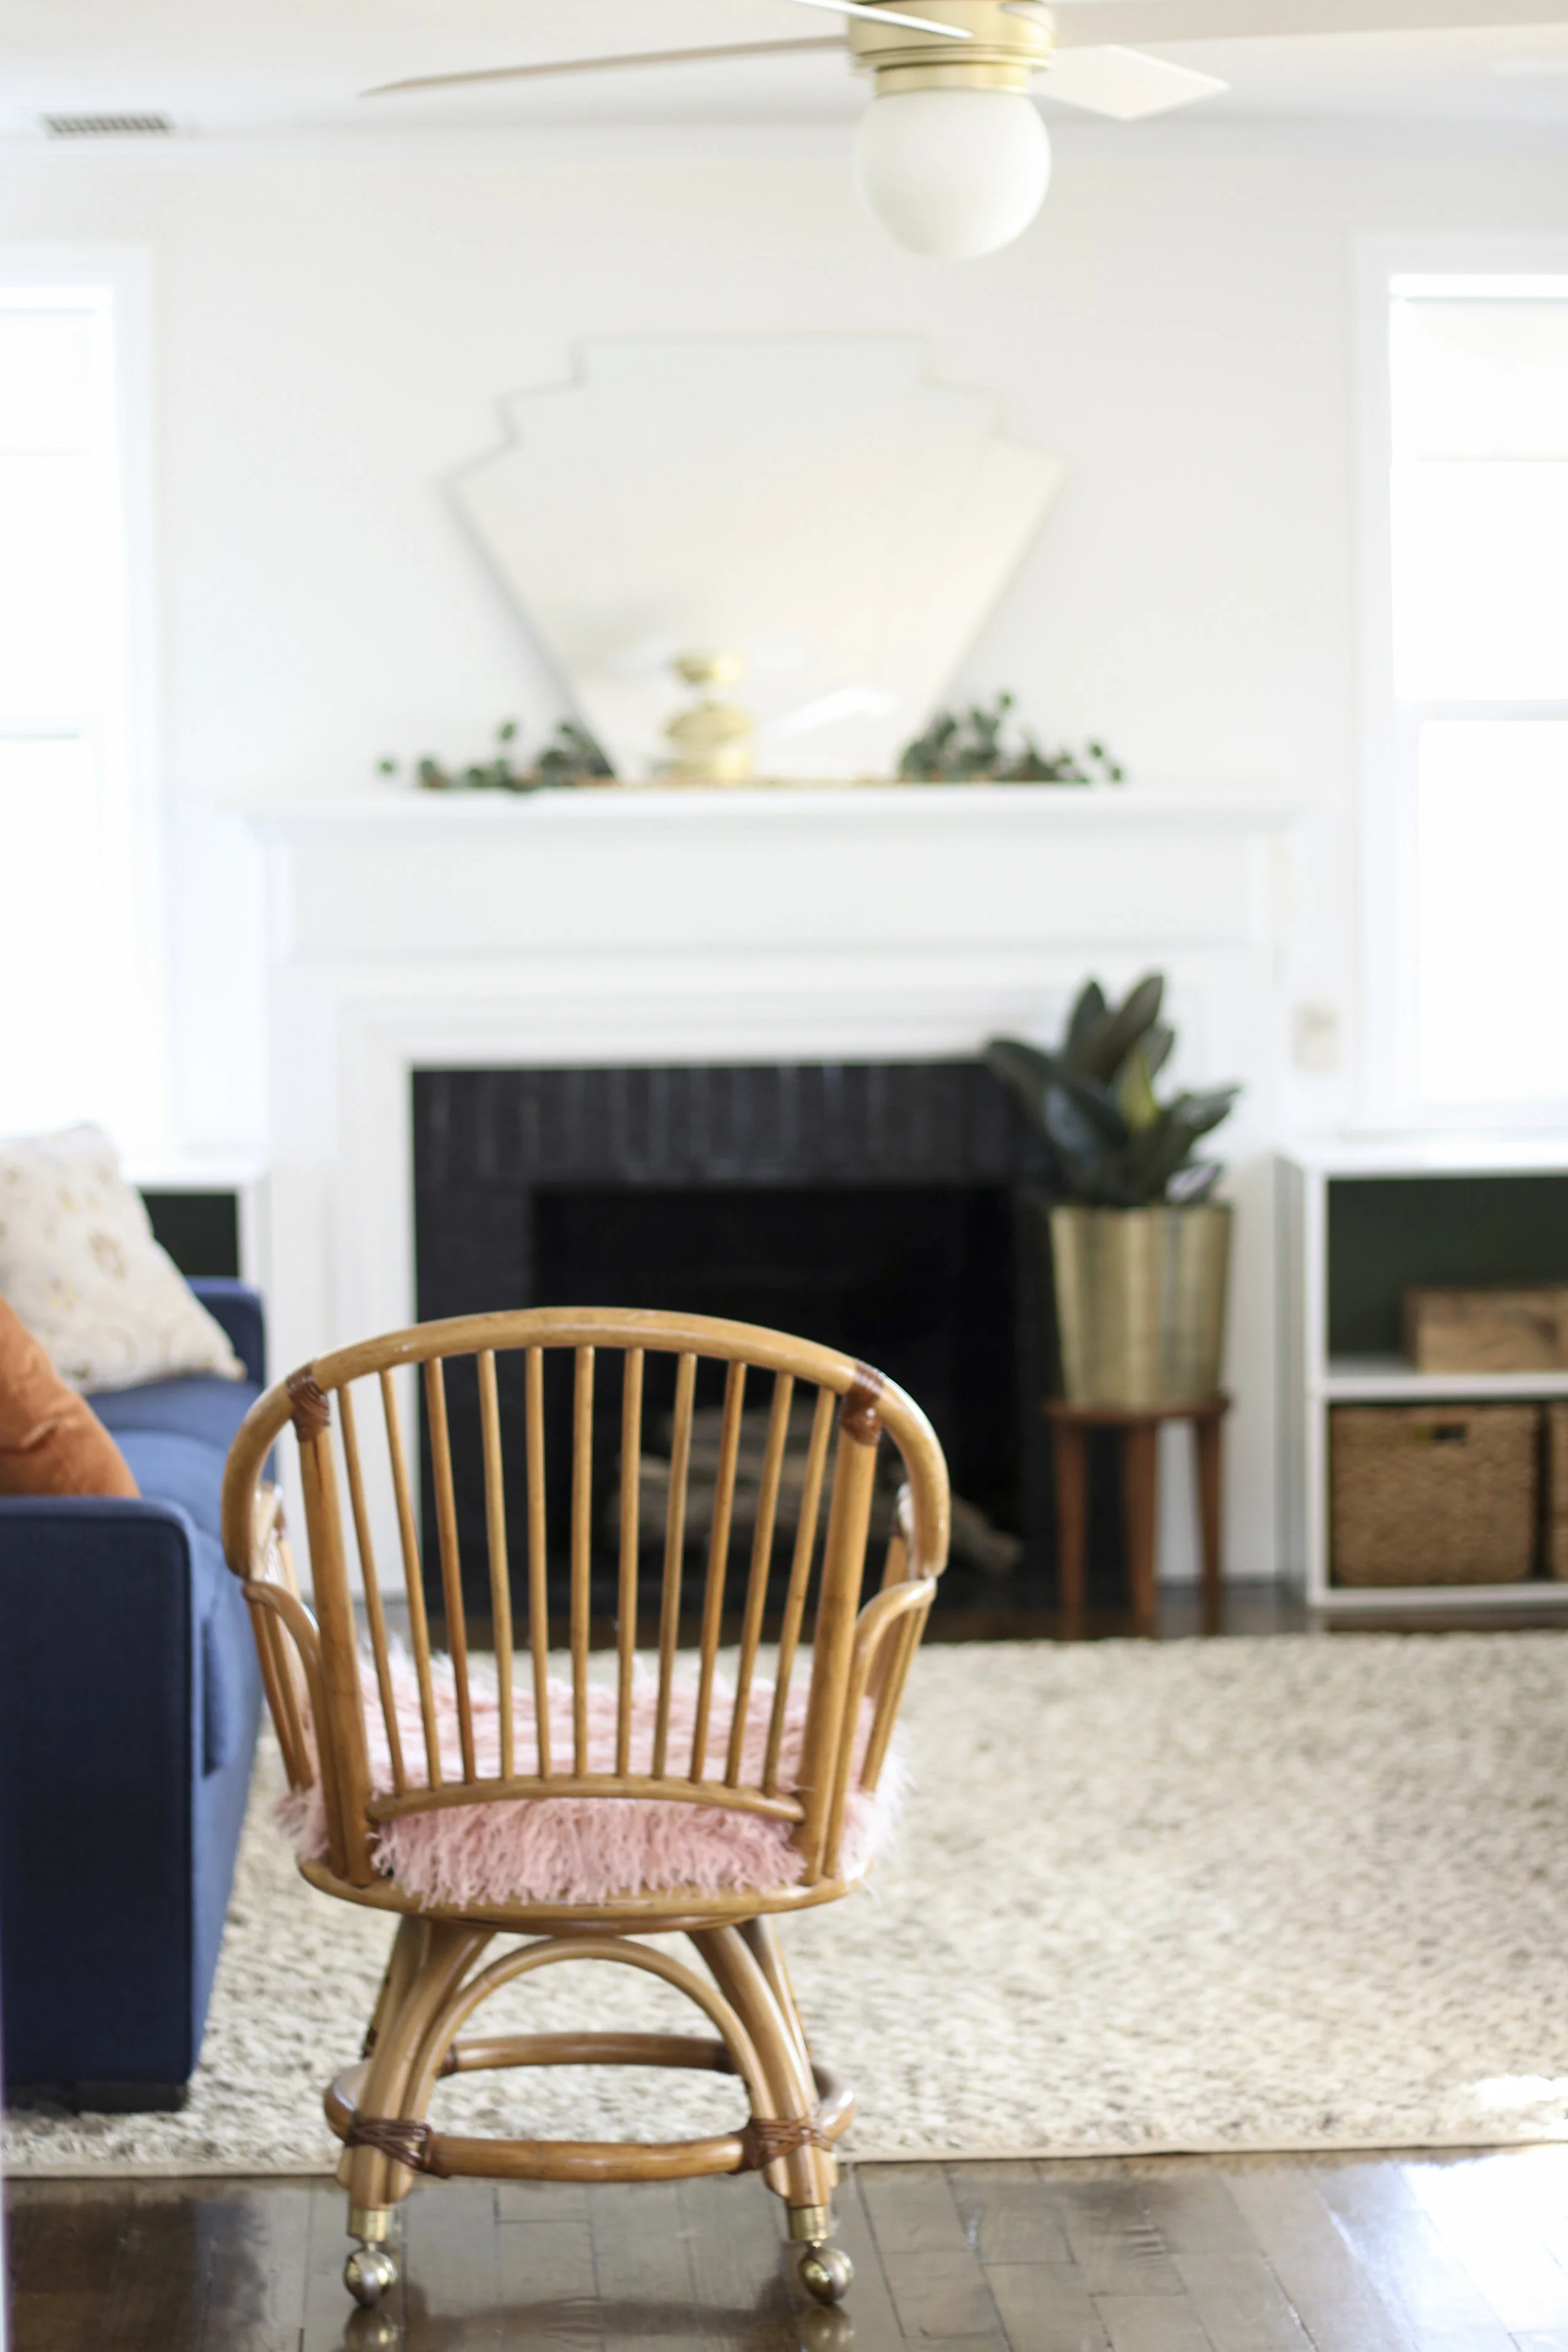
Cushions. Next up, was a sewing project that my friend Natalie, the sewing guru in my life, helped me execute (aka she did all the sewing while I provided conversation). Last week, I shared about my recent Craigslist score, some dreamy rattan chairs that lacked cushions, and I previewed the fabric that I was going to use for cushions, some fun pink fur. It was fun to see the plans come together!

At first, I wanted to find outdoor cushions that would fit the chairs and could just be recovered, but I had zero luck on that front. So, moving on to Plan B, I cut foam to fit the seat of the chair, and then Natalie sewed a cushion to cover the foam. Quick tip: Foam can quickly get pricey. The best prices on foam I could find were at Walmart. One pro of working with fur was that it was so forgiving. Nothing had to be perfect; it still looked good.

rattan chair cushion.jpg

And as we have been working on the DIY projects, our purchases have begun arriving! Here is a peek at the couch; needless to say, our dog approves.

Della couch edited.jpg

And to end things, here is an updated to-do list. Italics= partially completed.

Items to build or install:

  • Paint walls white
  • Build storage shelving around fireplace
  • Install wallpaper on entry wall
  • Tile fireplace hearth
  • Paint or tile fireplace brick
  • Install ceiling fan
  • Print, frame, hang wall art
  • Install window treatments

Items to source and buy:

  • Sofa
  • Additional seating
  • Paint
  • Wallpaper
  • Coat hooks
  • Decorative Trim
  • Ceiling fan
  • Curtains or fabric for curtains
  • Roller shades
  • Area rug
  • Wall art
  • Tile
  • Storage baskets
  • Lighting
  • Throw pillows

Make sure you check in with 20 featured designers participating in the One Room Challenge and the other guest participants. There are so many inspiring designs coming to life!

XO, Kylie

ORC-Guest-400x218.png


One Room Challenge | Week Three | Baby Steps

Welcome to Week 3 of the One Room Challenge! If you are new to our site, we are so glad you are here. My mom and I, aka KS Design Company, are making over my living room in six weeks. Make sure to check out the before photos of the space and the overall vision.

This week is the official halfway point of the challenge…and we have way more than half of the work left to do. What can I say? We are saving the best for last. 😉 But, there is progress to celebrate. Here is a taste of what we have been working on.

ACS_0096 (1).jpg

Art.

The print is this dapper fellow from the Etsy shop ChaosandWonderDesign. You guys, this is a gem of a shop, full of printable goodies for your walls: altered portraits, moody florals, figure art. Someone please use this or this in their space. Most of the printables are $6, and the shop owner graciously resized the portrait to a custom size for me.

Tile.

ACS_0097.jpg

The tile will be for the hearth of the fireplace. Tile hunting took place at Floor and Decor this past week. Have you been?? Floor and Decor is fairly new to the Kansas City metro, and it’s safe to say that my mom and I are big fans.

Since we plan to paint the brick on the face of the fireplace black, I wanted a black tile for the hearth to give a seamless look. I am a sucker for soapstone or a soapstone look, and although I originally didn’t plan on choosing a hexagon tile, this one fit the bill. That delicate white veining? So pretty. The fireplace mantle and and wood surround will stay painted white. So, in the end, we are hoping the fireplace looks similar to this inspiration from the brilliant Emily Henderson.

Fur.

I originally wanted to get one of these rattan chairs to use as an accent chair in the living room. Then, I stumbled upon a set of four rattan chairs on Craigslist for half the price. Here they are in the listing.

rattanchair.JPG

I have to say that I was feeling pretty proud of myself…until I drove off from purchasing the chairs with my wallet sitting on the top of the car. Womp womp. Still, the chairs are pretty great. Their only downfall is they are sans cushion. Enter pink fur. The plan is to create a cushion with foam and then sew a cover using the pink fur.

Here is the updated to-do list. Italics= partially completed.

Items to build or install:

  • Paint walls white
  • Build storage shelving around fireplace
  • Install wallpaper on entry wall
  • Tile fireplace hearth
  • Paint or tile fireplace brick
  • Install ceiling fan

  • Print, frame, hang wall art

  • Install window treatments

Items to source and buy:

  • Sofa
  • Additional seating
  • Paint
  • Wallpaper
  • Coat hooks
  • Decorative Trim
  • Ceiling fan
  • Curtains or fabric for curtains
  • Roller shades
  • Area rug
  • Wall art
  • Tile
  • Storage baskets
  • Lighting
  • Throw pillows


This weekend will be one of painting and buying and perhaps building. As always, make sure you check out the 20 featured designers and the other guest participants.

XO, Kylie

ORC-Guest-400x218.png

One Room Challenge | Week Two | The Vision and To-Do List

Hello from Week 2! If you are just joining the One Room Challenge fun, make sure to check out the before photos of the living space. Also, head on over to see what the 20 featured designers and other incredible guest participants are cooking up.

So, over here at KS Design Company, we have been taking the idea of creating a functional, casual, eclectic living room and breaking it down into specifics. In other words, my mom and I have been scouring the Internet and local stores, sourcing options for the space. From there, I have been trying different combinations on mood boards, asking my husband for his opinion on said mood boards, and then rearranging things after being told my rug choices are “aggressive.” 😂

In the end though, we came up with a mood board that fits the vision well, and most importantly, everyone is excited about it!

Living Room Mood Board.jpg

What you see:

The aesthetic feels fairly airy and light, but still has those grounding splashes of black. Texture abounds: wood, rattan, velvet, fur, mirror. And, there are nods to different design styles: the wallpaper leans more traditional, the main furniture is mid century modern, the accent chair is a touch bohemian, while the lighting is modern.

We wanted the space to feel layered but still keep everything fairly neutral. Neutral, not boring, was the motto. My husband leans toward everything being very neutral (is that a man thing?), and I can get bored with design, so it makes sense for us to have a fairly neutral palette that I can then tweak when the need for change hits.

What you don’t see:

One aspect of the design not represented on the mood board is the shelving we plan to build on either side of the fireplace. The shelving will hold baskets for toys and should more than double the current storage without cutting too much into the floor space.

Another major consideration not represented on the board? The budget. We will talk more about that in a future post. Spoiler alert: it’s a tight one!

The layout:

This is how we think all the elements should fit once the actual furniture arrives.

living room floor plan.jpg

One long to-do list:

Down to the nitty gritty. Here is everything we are hoping to accomplish in the next month.

Items to build or install:

  • Paint walls white

  • Build storage shelving around fireplace

  • Install wallpaper on entry wall

  • Tile fireplace hearth

  • Paint or tile fireplace brick

  • Install ceiling fan

  • Print, frame, hang wall art

  • Install window treatments

Items to source and buy:

  • Sofa

  • Additional seating

  • Paint

  • Wallpaper

  • Coat hooks

  • Decorative Trim

  • Ceiling fan

  • Curtains or fabric for curtains

  • Roller shades

  • Area rug

  • Wall art

  • Tile

  • Storage baskets

  • Lighting

  • Throw pillows


Whew. I am tired just looking at that list.

As always, thank you for stopping by. The journey isn’t even halfway over, and we are so excited to get these plans rolling.

XO, Kylie

ORC-Guest-400x218.png

One Room Challenge | Week One | The Before

We are tackling the One Room Challenge!!

The One Room Challenge is a bi-annual event that features 20 featured designers and many guest participants who makeover a room in six weeks. The event is hosted by Linda Weinstein of Calling It Home and Better Homes and Gardens.

By the way, if you’re here from ORC, welcome to KS Design Company! We are a mother-daughter team based in Kansas. KS Design Company is a brand-new venture for us. We are excited, motivated, nervous, basically all the emotions.

My mom and I have talked about joining the One Room Challenge for a while now. We have admired from afar—both featured designers and guest participants. The wealth of inspiration feels like a treat when it rolls around every six months.

Don’t let all that daydreaming fool you. Have we been preparing for the One Room Challenge? Have we started this renovation? That would be a resounding no. So, we will be doing the renovation in real time #livingontheedge.

We have decided to tackle my living room. I feel butterflies-in-the-stomach giddy thinking about the end result. My family spends the bulk of our time in this room, and the room has stayed relatively the same since we moved in eight years ago. There is nothing wrong with how the room currently is, but the room is longing for a fresh look (it told me).

Here are the main goals for the room:

  1. FUNCTIONAL (All caps is no accident. I am shouting it). If I was designing the room for aesthetic only, the sky would be the limit. But, my family has to do life in this space, including my toddler and 60-lb. dog.

  2. Casual. We are decidedly un-fancy people. I hope the room is a place people feel welcome, where they can lounge and have good conversation.

  3. Eclectic. By this, I just want to incorporate different styles, not just stay in a single design lane. I appreciate when a room feels layered and has pieces that blend together.

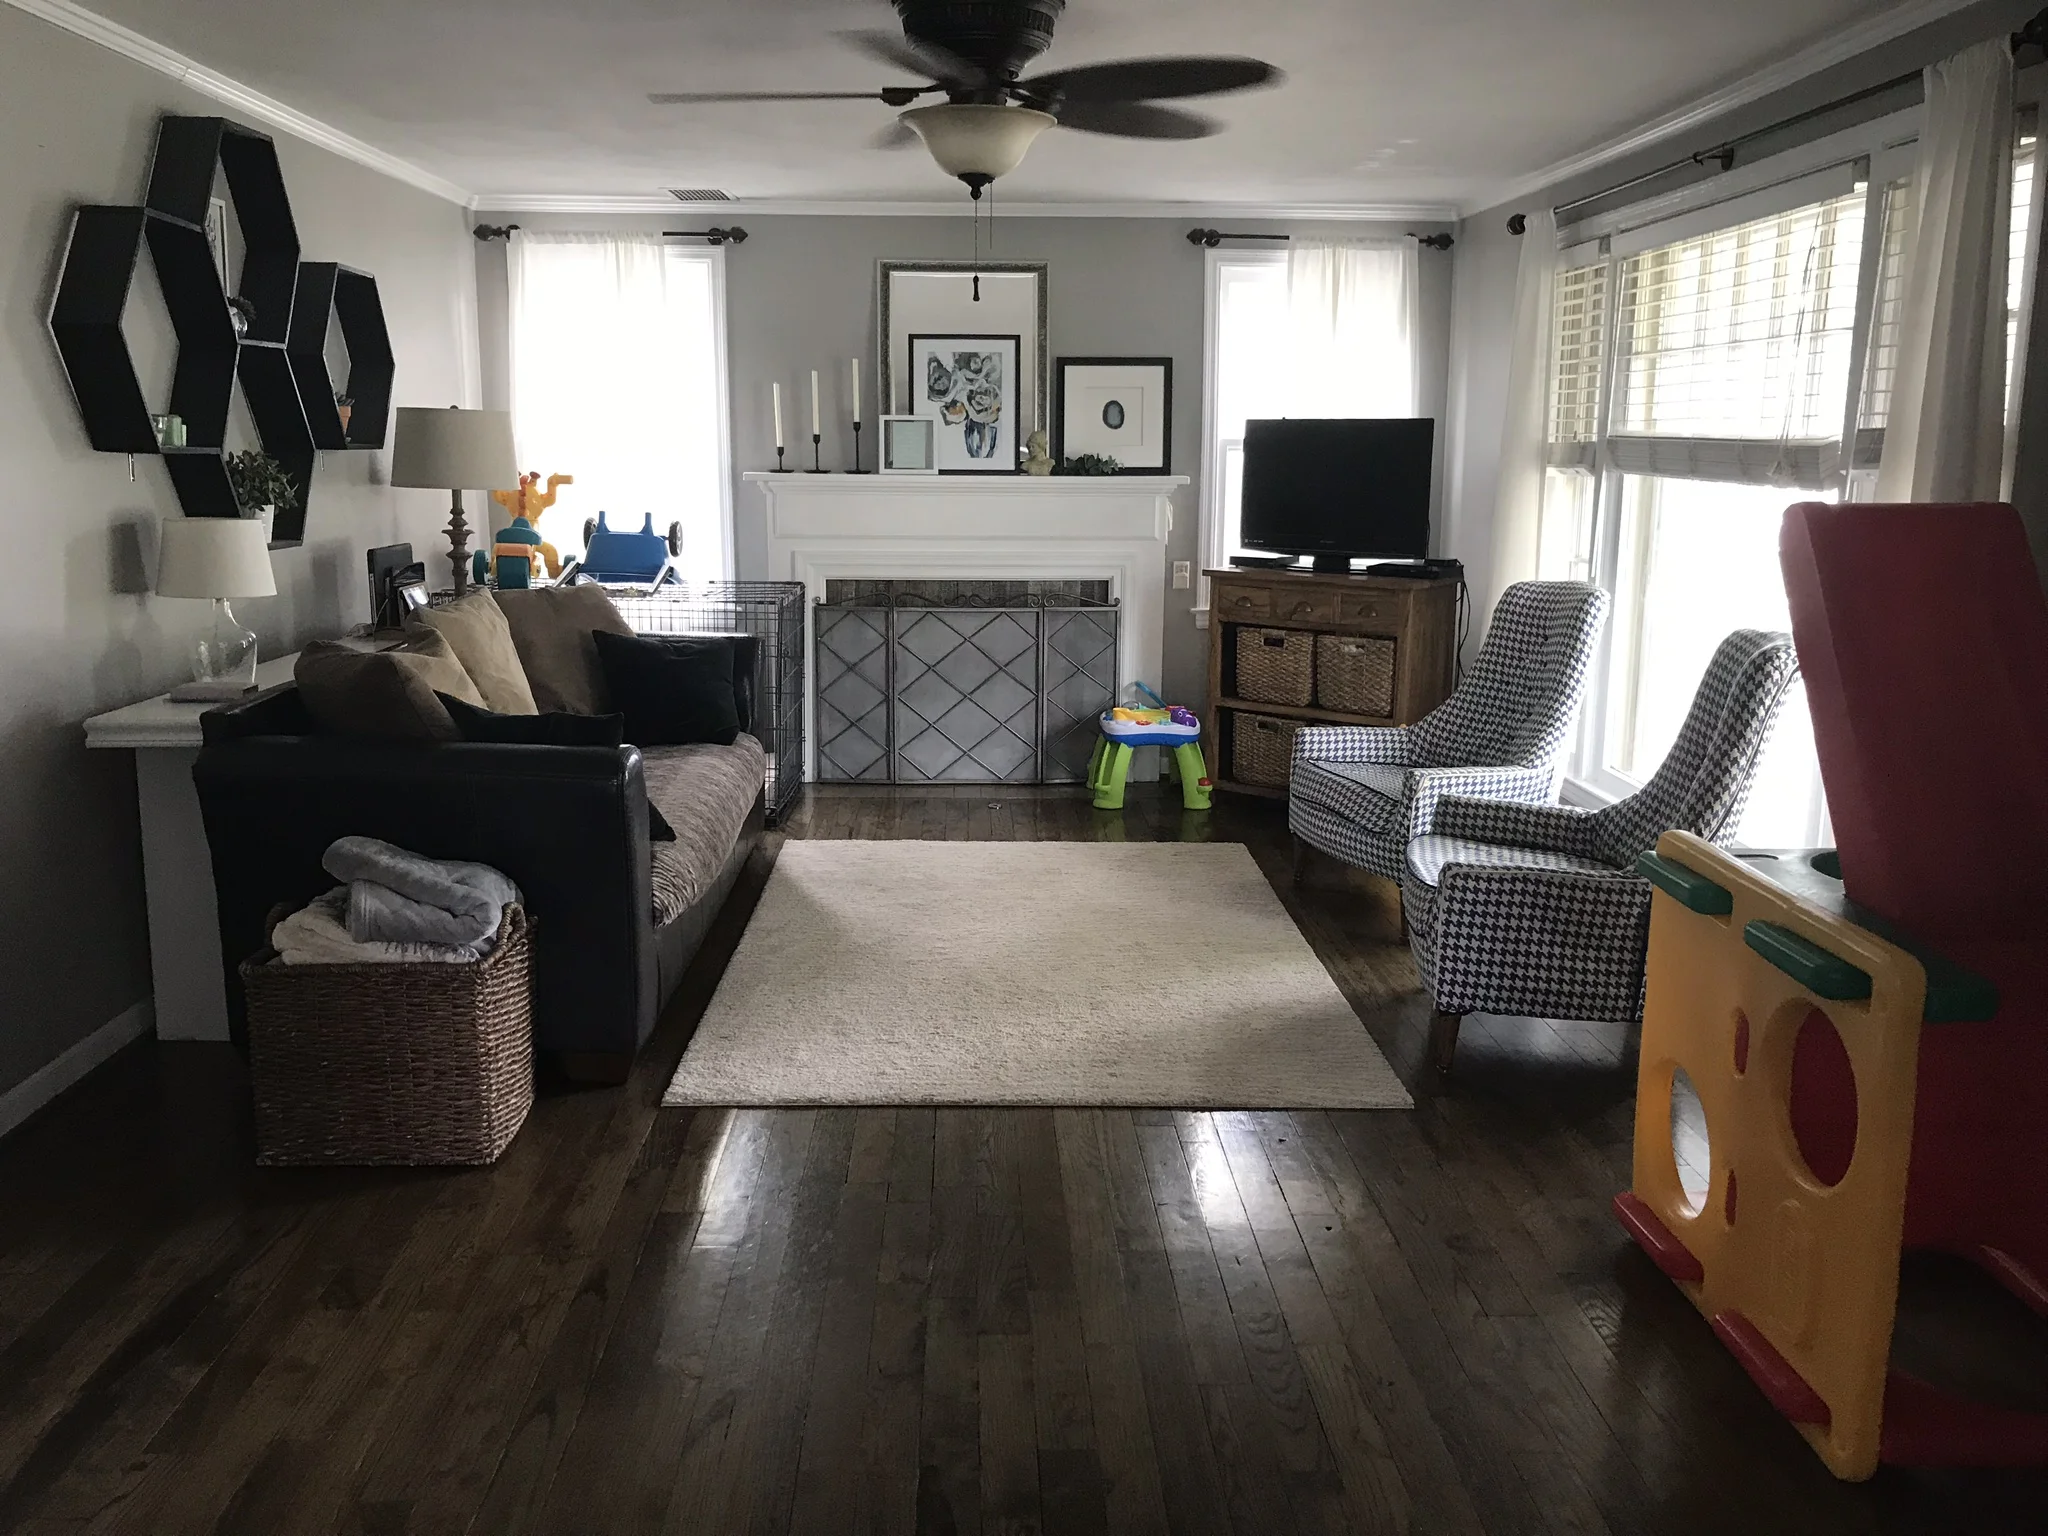
This is the room in its current state.

The room has some good bones: the beautiful original hardwood floors, the big picture window, a fireplace. There will be some challenges though.

Stay tuned to see how we tackle these obstacles:

  • Toy storage. No playroom in our little Cape Cod home, so it is natural for my one-year-old to play in the living room. Space is of high value though, so we are going to have to get creative. Or live a more minimalist life style.

  • Seating. The seating needs to be maximized. Currently, four people can very comfortably hang out and that’s just not quite enough. I would love to squeeze in a couple more, but I am also competing with weird floor vent.

  • Lighting. Do you see all the big windows in the room? Normally, the equation is:

    big windows + sun = lots of awesome natural light.

    What throws a wrench into our equation? Giant trees in the front yard. Thus, about 3/4 of the year, when the trees have foliage, the room is actually pretty dark.

Next week, we will go into the big picture design. In the meantime, make sure to check out the 20 featured designers and the other guest participants over at the One Room Challenge site.

XO, Kylie

ORC-Guest-400x218.png


Bright + Neutral Nursery

Although the ultrasound technician ended up accidentally spoiling the baby's gender less than a week before baby E was due, an experience that involved tears (on her part) and consoling (on my part), the original plan was to have the gender be a surprise. Luckily,I have all the heart eyes for gender neutral nurseries, and as an extra perk, I thought going gender neutral would help me reign in the design, keep it simple. 

Main design goals:

  • A lot of white. I wanted the nursery to feel very serene. Plus, the room gets excellent natural light, keeping the white from looking too drab.

  • A nod to boho. Oh, Pinterest and your bohemian nurseries. You get me every time.

  • Lovingly picked details. I wanted to look around the room and see meaningful touches, not just pretty things.

Step 1: Paint

The room that would become the nursery on the day we moved in.

The room that would become the nursery on the day we moved in.

When my husband and I first bought the house, the walls of this room were a Pepto Bismol pink, which we painted Benjamin Moore Harbor gray straight away and used the room as an office mostly storage. The gray would technically have worked for a gender neutral nursery, but the heart wants what it wants. So, we painted the walls Bistro White by Valspar. It is a slightly warm white that we have used in multiple other spaces in our home. It provides a little contrast with white woodwork. Instantly, the room became brighter and felt more open.

For accent colors in the room, I really liked forest green and ivory. My mom recommended light blue to go with the dark green, which is so dreamy.

BriggsNursery02.jpg

Step 2: Furniture

We chose this crib and love it so far. It has simple clean lines, and the wood base adds a little interest. Plus, it is reasonably priced. These are the crib sheets. 

Luckily, my parents saved the two dressers from my own nursery. The lower dresser is perfect changing table height, and the oak helps warm up the space. 

For the rug, I really wanted an oriental rug that pulled in the forest green. When I saw this rug, it was love at first sight. It even had some light blue! I confidently ordered it. When it arrived, I unrolled it in the space, and I immediately knew that it was not what I expected or wanted. The blue was turquoise  and the green was more of a jungle variety. Having to get a different rug is NOT a big deal, but at the time, it felt big. So in a cloud of defeat, my husband and I trekked to World Market and their rug sale. We came home with a light blue rug, which ended up also being a no. I finally landed on this wool rug. It is soft and understated. It has lovely shades of ivory and oatmeal. It fits the space so well. Who needs color after all? Apparently not me. 

The glider was a tough call. Who knew they were so dang expensive? And, as The Rug Fiasco proved, pregnancy made my indecision go off the charts. We initially bought this glider. It was fine, but most importantly it wasn't hundreds and hundreds of dollars. My dad and husband lovingly hauled it home and got it into the room and assembled. And then I sat in it. And...it just wasn't right. So, my husband lovingly disassembled it and hauled it back to the store. Back to the drawing board. I considered this and this. But, in the end, I knew I had to actually sit in the glider before purchasing. Off to Buy Buy Baby. The glider we ended up with was the last one of a style they were no longer making. And...I love it. 

Step 3: Details

Because of the dormers, this room has lots of corners and crannies, one of which became a reading nook. I wanted book storage where the books faced outward, seeing the covers and not just the spines. Children's book illustrations are so beautiful and can act like art. These picture ledges did the trick. And, they hold SO MANY books. Perfect because I dream of afternoons reading with E. 

BriggsNurseryWebDetail4.jpg

Above the book shelves, I hung the lightbulb piece of art that I had bought on clearance at Hobby Lobby several years ago. My sister created the cross stitch of our dog Della and surprised me with it at my baby shower. The detail is amazing. She used this program and uploaded a picture of our dog. Every time at I look at Della's goofy dog smile, I smile. 

BriggsNurseryWebDetail10.jpg

In the crib nook, my mom and I followed this tutorial to create a simple yarn wall hanging. A diy that comes together in 30 minutes is the best kind. Above the crib, my mom cross stitched an alphabet using this pattern (my family members are so generous). It took hours and hours, but it is so incredible in person. Having the alphabet (in some form) is such a traditional element in a nursery, but this cross stitch is very modern looking. I developed a thing for sheep during the nursery design, as evidenced by the crib sheet and rocker (found at Home Goods). 

BriggsNurseryWebDetail7.jpg
BriggsNurseryWebDetail2.jpg

The changing basket, which is made in Uganda, brings texture and natural materials to the space. My mom and I made the large floral wreath above the changing table. We bought an enormous wire wreath form, spray painted it gold, and wound a garland of faux flowers to the wreath form using gold floral wire. We also bought some random sprays of faux flowers to tie into the wreath and help fill in emptier spaces. I don't mind there being a touch of floral in a boy's nursery. The wall sconce is striking in person and provides a good amount of light. 

BriggsNurseryWebDetail6.jpg
BriggsNurseryWebDetail3.jpg

Above the tall dresser, there is an array of fun stuff. I printed and framed this digital print. I'm all aboard the letterboard train, and I use it for E's monthly pictures. Luckily, they have become so much more reasonably priced. I painted the wood blocks with the nursery accent colors. The crocheted Airedale terrier was a gift from my sister-in-law and is an adorable way to pay tribute to our family pup. The precious pom sheep were created as decor for a baby shower thrown by mom following this tutorial. The nightlight works as a functional piece of decor. 

BriggsNurseryWebDetail1.jpg

Opposite the tall dresser, I hung a paint-by-numbers landscape that my great-grandmother, who I never had a chance to meet, painted. My mom framed a pair of angel wings to honor our babies in heaven.

BriggsNursery07.jpg

On the wall behind the door, I knew I wanted a coat rack to hang jackets and bags. The artwork above the coat rack was created at a sweet baby shower my friend threw. It is a nod to the guestbook at our wedding. The guest stamped their thumbprints onto the tree, creating leaves. Then they wrote one thing they hoped E would grow in throughout his life. 

BriggsNurseryDetail5.jpg

The nursery ended up being a cheerful, peaceful place, and when I look at the walls, I see so many personal reminders that bring gratitude and joy. 

XO, Kylie